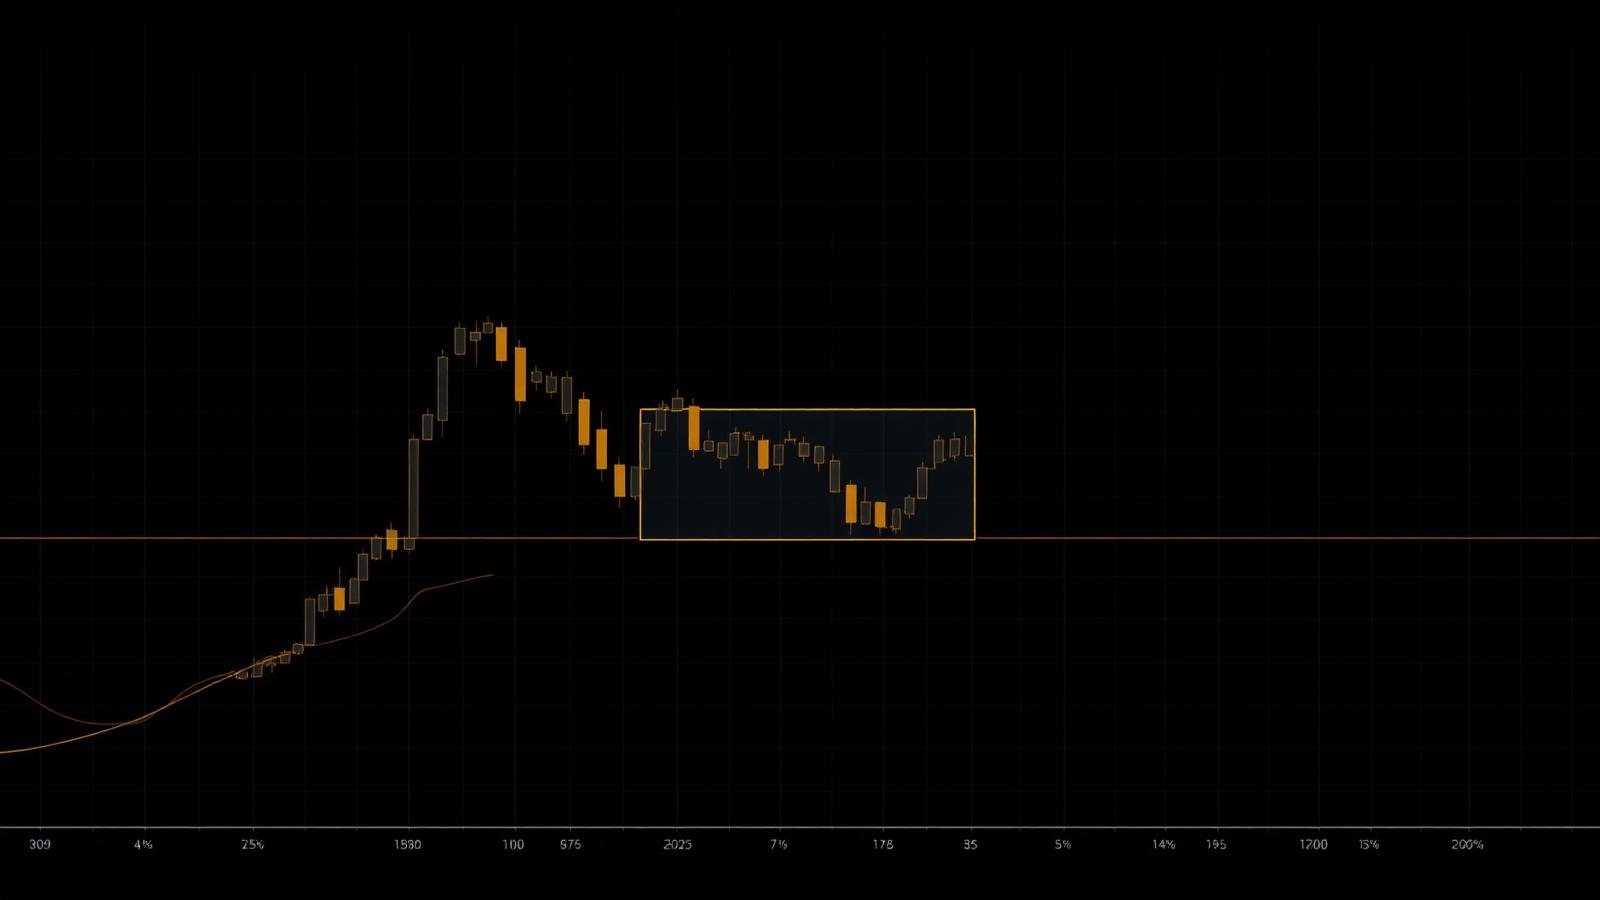
Short answer
A breaker block is an order block that price traded through and then reclaimed, flipping it from support to resistance or the reverse. In ICT terms it marks where the failed move's originating orders were mitigated, so the reclaimed zone becomes a high-probability entry area in the new direction.
What makes a block a breaker
An ordinary order block is the last opposing candle before a strong impulse. It works while price respects it. A breaker block is what that same zone becomes once price closes through it and then comes back to it from the other side. The zone has changed roles: the traders who bought it are now trapped, and their exit orders sit inside it.
That role reversal is the whole edge. You are no longer guessing whether a zone will hold — you already watched it fail, and you are trading the retest of the failure.
How a breaker block forms, step by step
- — Price forms an order block and pushes away from it, creating a swing high or low.
- — That swing gets swept — buy or sell stops beyond it are taken.
- — Price displaces back through the original order block with a body close, not just a wick.
- — The old order block is now a breaker. Mark it from the candle body to the wick extreme.
- — Price retraces into the reclaimed zone and rejects. That retest is the entry.
Bullish breaker block
A bearish order block above price fails: price sweeps the low beneath it, then displaces up and closes above the block. The zone flips to support. On the pullback into it you look for a long, with the stop under the displacement leg's origin.
Bearish breaker block
A bullish order block below price fails: price sweeps the high above it, then displaces down and closes beneath the block. The zone flips to resistance. On the retrace up into it you look for a short, with the stop above the sweep high.
Breaker block rules
| Element | Rule |
|---|---|
| Context | Higher-timeframe draw on liquidity must point the same way as the flip |
| Confirmation | Body close through the block, plus a market structure shift on the 1m or 5m |
| Entry | First touch of the reclaimed zone — limit at the 50% of the block body |
| Stop | Beyond the swing that produced the displacement (not just beyond the block) |
| First target | The nearest opposing liquidity pool — session high/low or PDH/PDL |
| Session filter | NY AM killzone 09:30–11:00 ET, or the 14:00–15:00 ET PM window |
| Invalidation | A body close back through the block in the old direction |
Annotated NQ example 1 — AM killzone continuation
- — 09:31 — NQ drives down and prints a bullish order block at the session low.
- — 09:48 — price sweeps the previous day's low; the bullish block fails to hold.
- — 09:52 — a 1-minute body close back above the block confirms it as a bullish breaker.
- — 10:04 — price retraces into the reclaimed zone and rejects with a displacement candle.
- — Long at the block's 50%, stop below the 09:48 sweep low, target the previous day high. Roughly 3.4R.
Annotated NQ example 2 — a failed breaker
- — 13:40 — a bearish breaker forms after a clean displacement lower.
- — 14:10 — price returns to the zone but the higher-timeframe draw is still upward.
- — 14:13 — price closes straight back through the block. The setup is invalid, not late.
- — Lesson: a breaker traded against the higher-timeframe draw is the single most common way this model loses.
Common breaker block mistakes
- — Calling a wick through the block a reclaim. Only body closes flip a zone.
- — Marking the whole candle range instead of the body-to-wick zone, which inflates the stop.
- — Trading the second or third retest — the first touch carries most of the edge.
- — Ignoring the draw on liquidity, so the flip is fighting the day's real direction.
- — Confusing a breaker with a mitigation block; a breaker requires the reclaim.
How to drill it
Load a random NY AM session in the free replay trainer, mark PDH/PDL and the session range before pressing play, then step bar-by-bar and take only breaker retests. Twenty logged reps is enough to see whether the model fits your risk tolerance — the journal tags each trade so you can filter by model later.